How do I restore a backup with R1Soft?
Each hosting package can make full use of the made backups for free. These backups are automatically made daily.You can restore a backup of both the files in your hosting package and the MySQL databases up to 7 days.
Important
Resellers who log in to their cPanel account of their clients can't access R1Soft through WHM. They should log in the same way as their customers do.
CAUTION! THIS IS AN OUTDATED ARTICLE. SINCE Q4 OF 2018 AL SHARED HOSTING SERVERS MAKE USE OF OUR OWN BACKUP SYSTEM AUTOBACKUP.
Restore or download backup
Step 1. Log in to cPanel.
Step 2. Under 'Files', click 'R1Soft Restore Backups'.
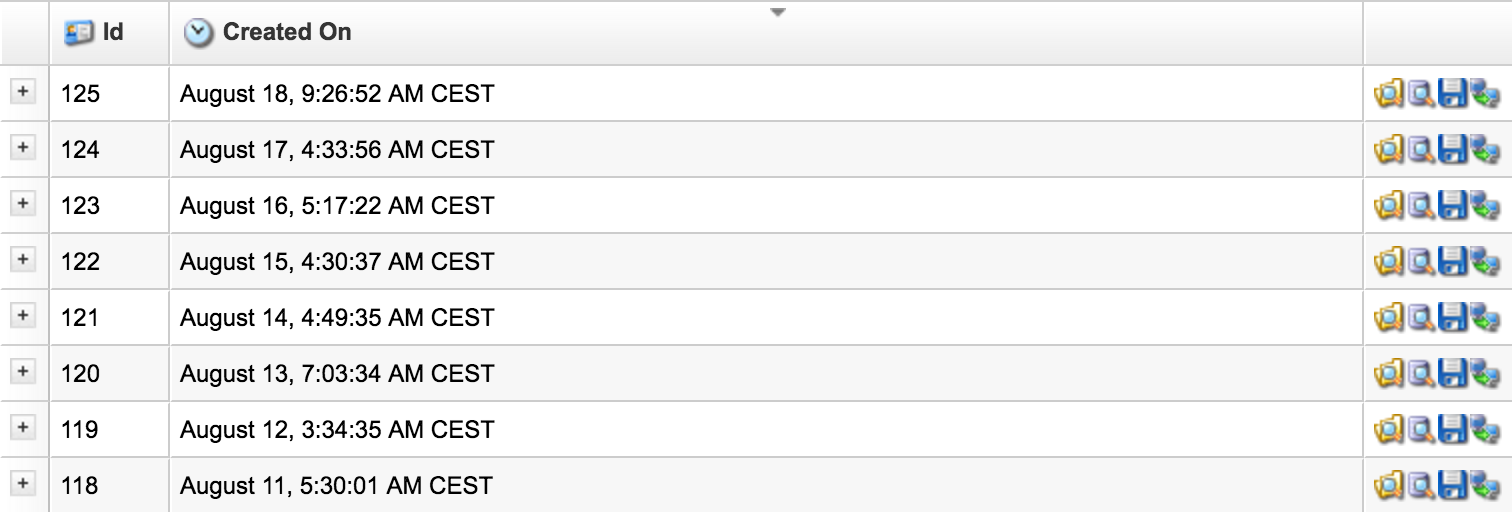
Step 3. You will be on a new screen. You'll see an overview of available backups, sorted by date, from new to old.
Step 4. Click on the right side of the backup you want to restore on the first icon. You will see a new overview with the 'home' folder. This is your base folder. You have the following options:
- Restore. To restore everything, put a checkmark to the left of your base folder. To restore a part, double-click a folder to navigate your folders. Then select the folders you want to restore. Click 'Restore Selected' to start the restore. This can be helpful if you don't want to restore email (or only email), this folder is named "mail".
- Download. To download everything, check the box next to your base folder. To download a part, double-click a folder to navigate your folders. Then select the folders you want to download. Click 'Download Selected' and click 'Download' in the new window.
Step 5. Depending on the amount of files you want to restore or download, the process may take a while. If something goes wrong while restoring or downloading please contact us. We're happy to help you!
Restore databases
Step 1. Log in to cPanel.
Step 2. Under 'Files', click 'R1Soft Restore Backups'.
Step 3. You will enter a new screen. You'll see an overview of available backups, sorted by date, from new to old.
Step 4. Click on the right side of the backup you want to restore on the second icon. You will see a new overview.
Step 5. Click the plus sign next to 'Databases' to the left.
Step 6. Check the databases you want to restore. Then click on 'Restore Selected'.
Step 7. The selected databases are now being restored. Depending on the amount of databases and the size of each database, it may take a while. If something goes wrong during repair, please contact us. We're happy to help you!


