How can I customize the PHP settings with a php.ini file?
Do you want to change your PHP settings on your hosting package? This is easily done by the Select PHP version option in cPanel. If you want to make a change that is not included in this selector, you can use a php.ini or .user.ini file.
Steps to change PHP settings using Select PHP version
Step 1: Log in to cPanel.
Step 2: In the Software category, click Select PHP version.
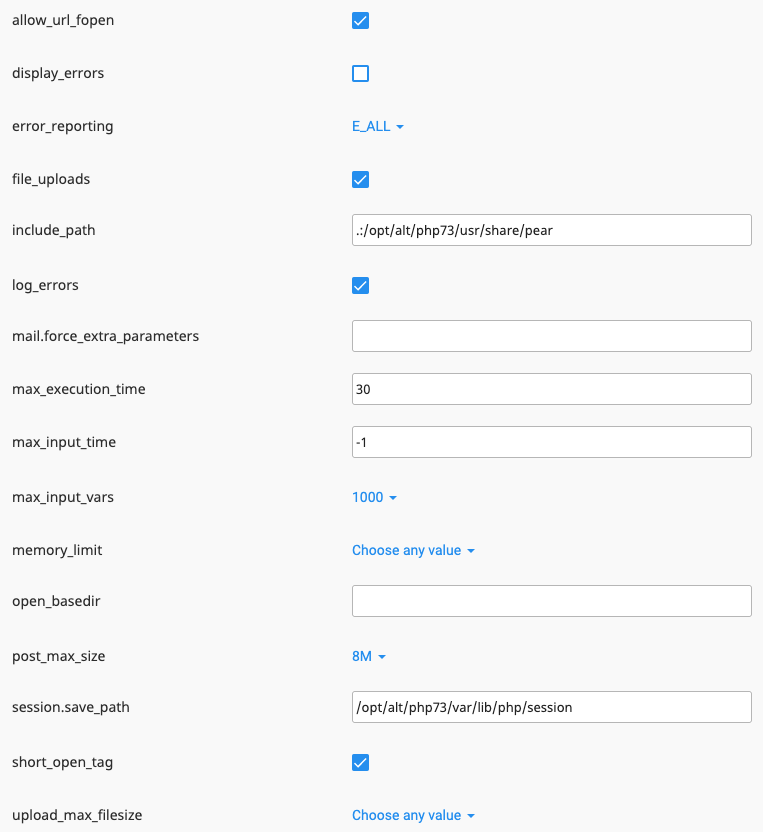
Step 3: Click Switch to PHP options in the top right. If this option is not present, change the PHP version to a different version, other than Native.
Step 4: Make the desired changes.
Steps php.ini / .user.ini
If the changes we made in Select PHP version do not meet your requirements we can use a php.ini or .user.ini file to make this change to the PHP variables. A .user.ini file has the highest priority so we will use that in this example.
Step 1: Log in to cPanel.
Step 2: Click File manager under the Files category.
Step 3: Double click the folder your website is located in. If you want to add a .user.ini to the main domain of your hosting package, use the public_html folder. If you do not know the directory your website is located in, you can see this in Domains in cPanel.
Step 4: Click + File in the top right of your screen and name the file .user.ini If there is already a .user.ini file present, right click that file and click Edit.
Step 5: The first line of your file should always be [PHP] If you, for example, want to change the max_execution_time to 300, make the second line say:
max_execution_time = 300
Step 6: Click Save Changes in the top right of your screen to save the file.
Steps to change PHP options on Cloud Servers
On Cloud servers you have the ability to change the PHP options and settings through WHM, per PHP version in the MultiPHP Manager in WHM. In this article we show you how to make these changes for a singular website.
Step 1: Log in to cPanel.
Step 2: Click MultiPHP INI Editor under the Software category.
Step 3: Choose the desired method, Basic or Editor Mode.
Step 4: Choose the domain or subdomain you want to make the changes on.
Step 5: Make the desired change. If you choose the Editor Mode, the first line should contain [PHP]
Step 6: Click Apply. The settings will now be saved!


